×

From DIY Disaster to Dream Van: My Simple Plus Build Story

Posted on2024-11-01 by

Ever since I was a kid, I’ve dreamed of owning a camper van.

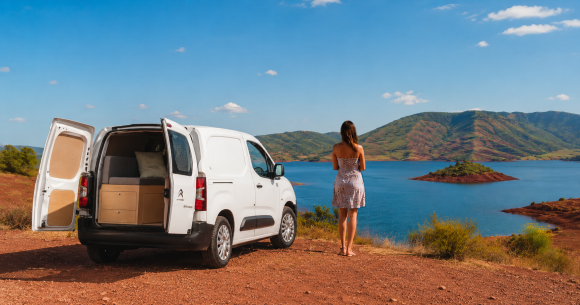
The freedom, the adventure, the idea of parking anywhere and calling it home–it’s been on my mind for as long as I can remember. Life, as it often does, got in the way. Work, a growing family, and the endless grind meant my dream had to wait. But now, with our toddler starting to walk, my wife keen on an adventure, and our dog always ready to explore, I finally had a window to make it happen. 

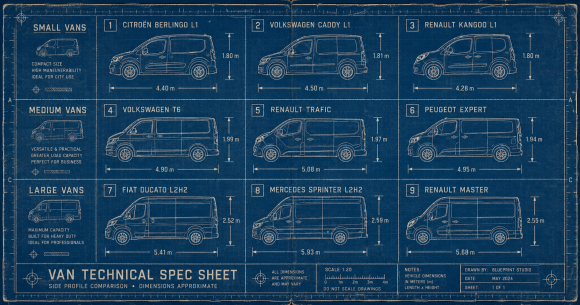
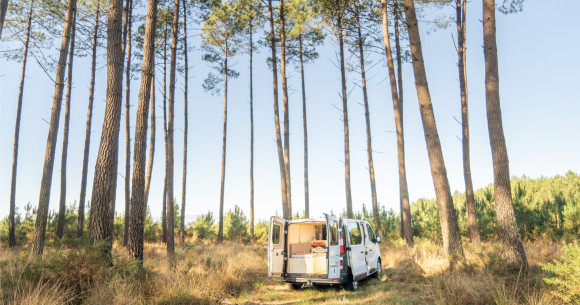
We had a relatively tight €15k budget, so a factory-built camper was out of the question. I also didn’t fancy getting one of those boxy 1990’s mobile homes that you see choking up the roads every summer. The plan was simple: buy an empty panel van and turn it into a camper myself. That way, we’d have as modern a van as possible, which in turn would be faster and more fuel efficient. In the end, we bought a 2011 Mercedes Sprinter. We call him Scrappy. Scrappy’s not glamorous, but he’s modern enough to avoid constant repairs and roomy enough for a growing family. 

The first few steps were... honestly, a blast. Cleaning the van out, adding insulation, and planning the layout gave me a sense of accomplishment. My toddler loved sitting in the front, pretending we were already off on our grand adventure. I could see it so clearly–three weeks next summer, exploring the countryside, making memories. 

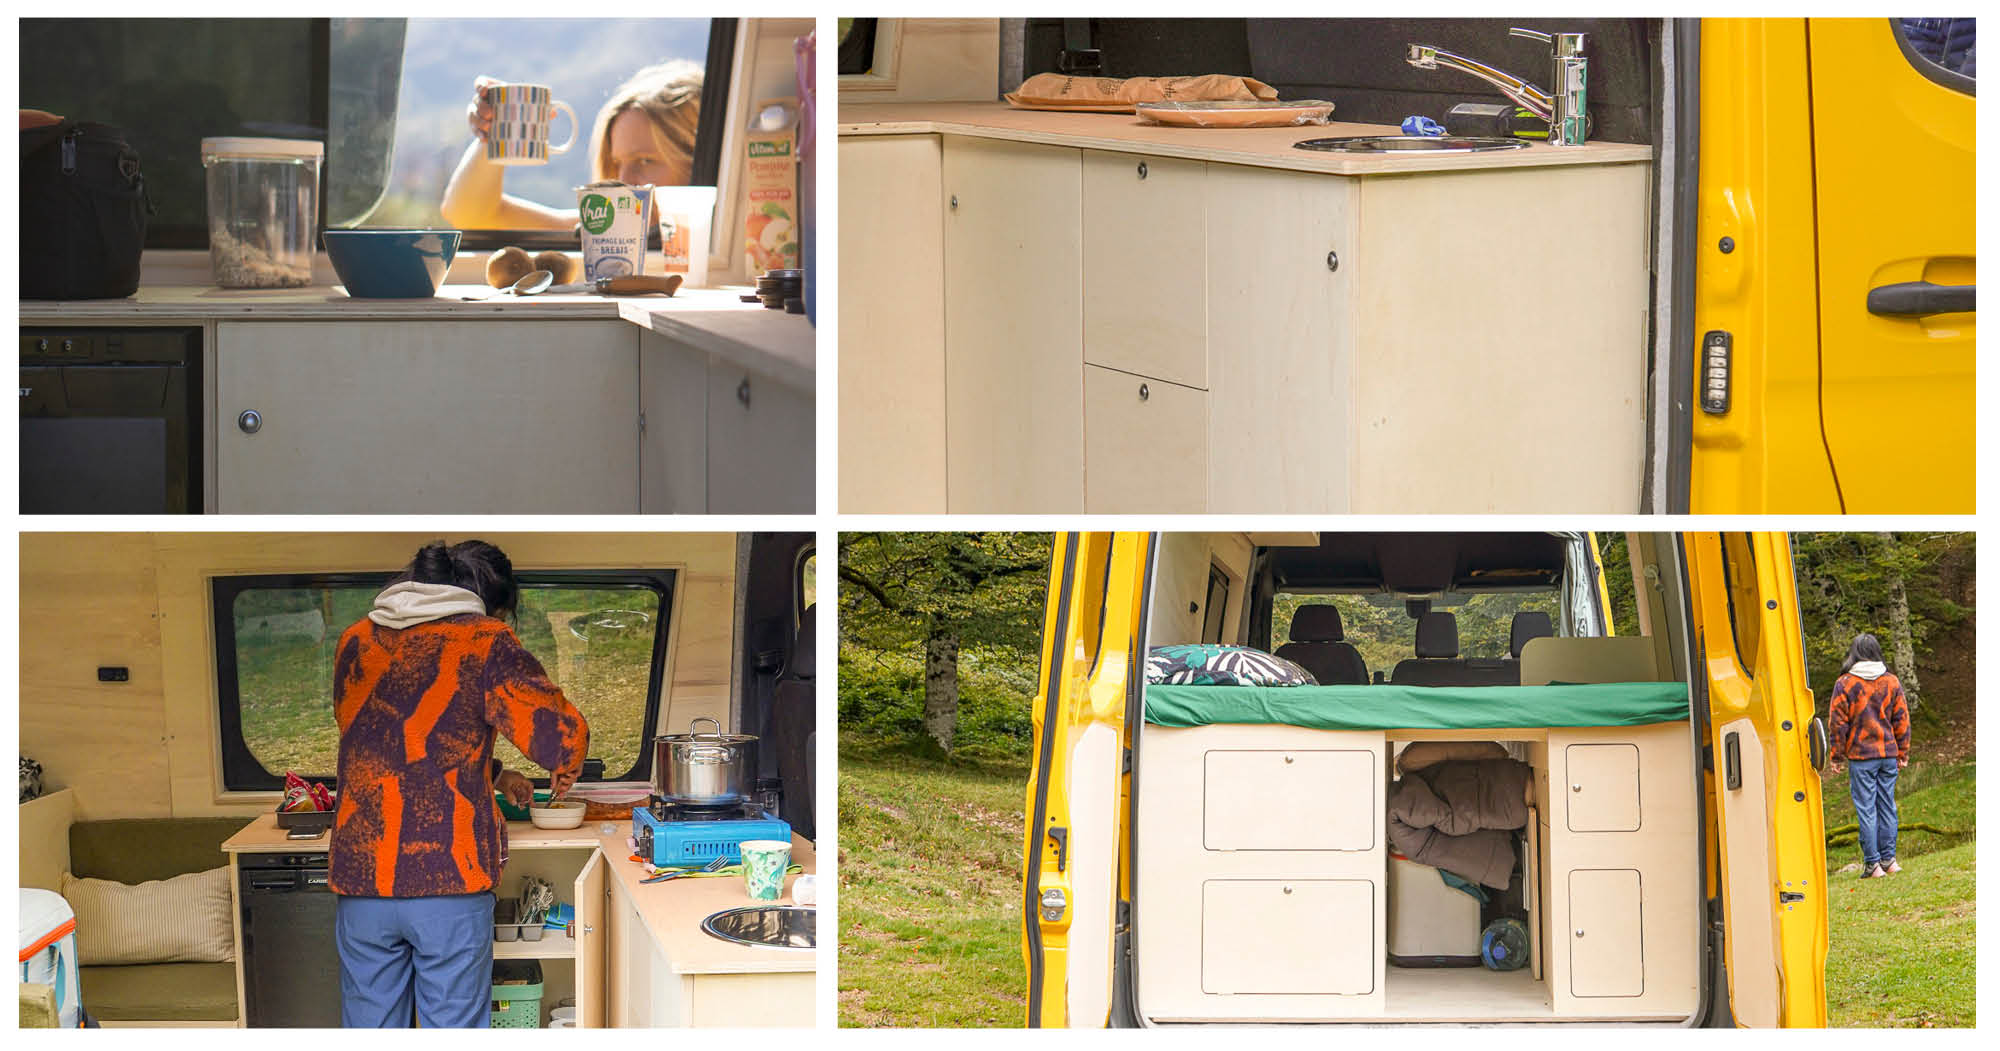
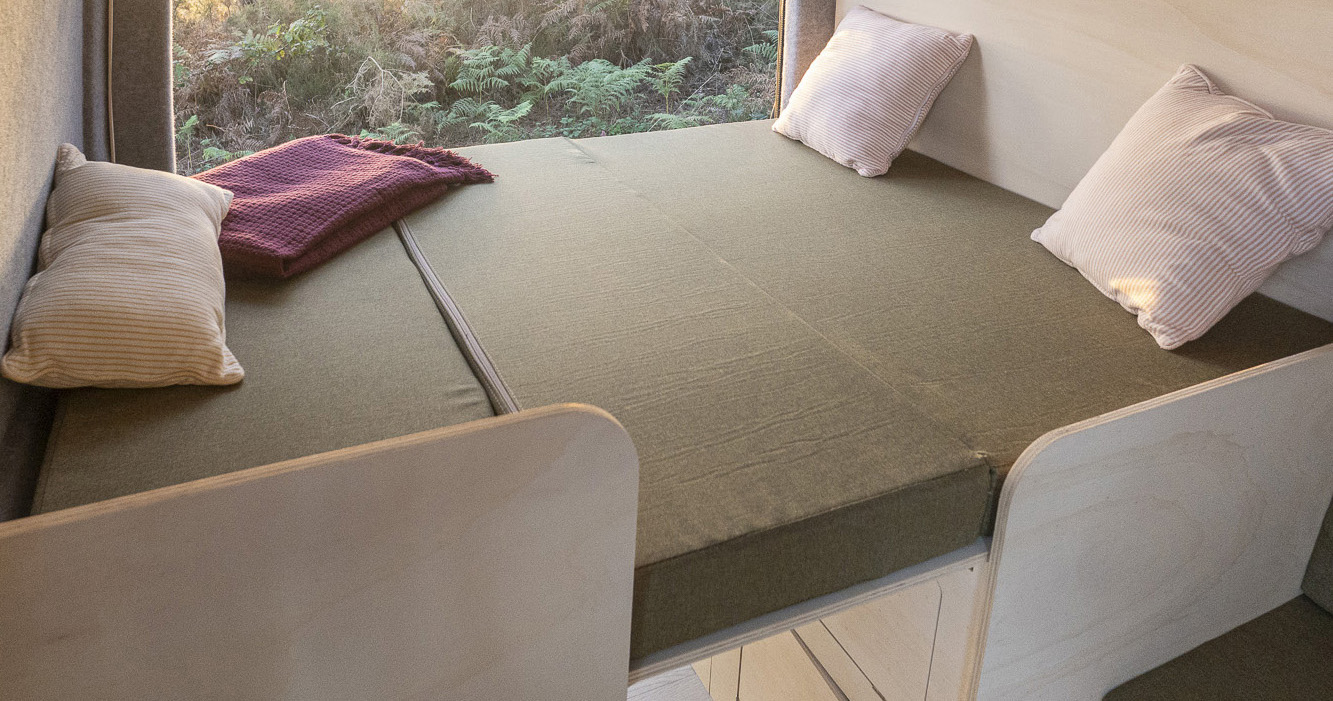
Then came the furniture. I’ve always thought of myself as a handy guy, and I wasn’t aiming for perfection–just something practical. I figured I’d start small, with a kitchen unit and a fixed double bed at the back. But after two weekends of cutting, drilling, and muttering to myself, the kitchen unit was still only half-finished. Worse, it looked... well, amateur

“Pierre,” my wife said one evening as she surveyed my handiwork, “if it all looks like this, you’ll have a hard time selling it.” She wasn’t being mean, just honest. And she was right. I was cooked. Even if I wanted to, I didn’t have the time to start over from scratch. And I couldn’t afford to quit and hire a carpenter to build it for me. 

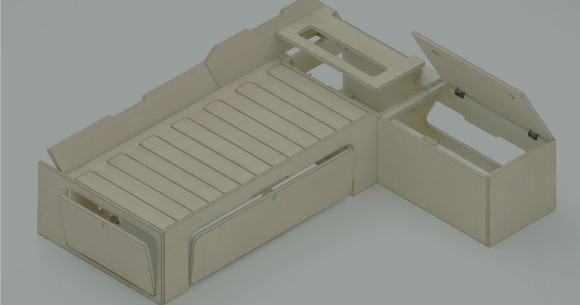
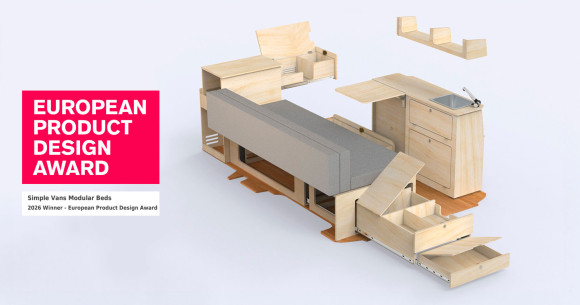
And then, Instagram swooped in. I swear, sometimes it feels like the app is listening to your conversations. Ads for a company called Simple Vans started popping up on my feed. Normally, I’d find that creepy, but this time, I was intrigued. This furniture was clean, modern, and–best of all–looked like something I could actually assemble. 

Only one problem... they didn’t have kits for large vans. I wasn’t ready to give up, though, so I decided to call them. Ben, the founder, answered. We started chatting, and I explained my situation: a large van, a small budget, a tight deadline, and a serious need for help. “You’re in luck,” Ben said. “We’re working on a plus-sized range right now, and we’re looking for a Guinea Pig to road test some prototypes. Keen?” 

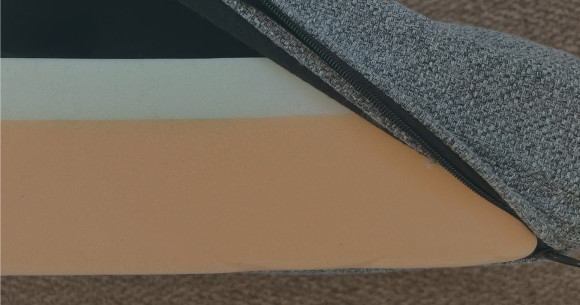
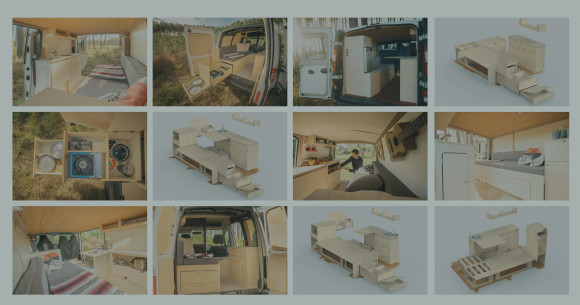
I was Keen as mustard. A few days later, a stack of flat-pack boxes arrived. Before I even opened the boxes, I was pleasantly surprised by the weight: Simple Vans use lightweight Poplar plywood, and I had no problem carrying the boxes to the back of the van.

So: first impressions.
Unboxing the kits was surprisingly fun–everything was so well-packed, and the materials felt solid and high-quality. NOTE: I oiled my units after I built them, but in hindsight it would have been a bit quicker and easier to spread all the boards out flat and oil them at the unpacking stage.
Building it was even better. If you’ve ever assembled an IKEA kit, you know how confusing it can be with 10 types of screw, and complicated instructions. This was nothing like that. The pieces slotted together intuitively, with clear instructions and no fiddly parts. Best of all, it wasn’t cheap chipboard; the plywood was light but incredibly sturdy. The ‘Quick Slot’ construction is genius. You just run a bead of wood glue along the joint, slot them together, wipe off the excess with a damp cloth, and you’re done. The joints turn out extremely strong and rigid, and you can’t slot the wrong pieces together, so it’s really hard to mess up (unlike IKEA kits).
Another plus: the kits come sanded and untreated, which helps keep costs down and gives you the choice of how to finish it. My wife–being the eco-conscious hippie she is–insisted we finish it with natural Tung Oil. It turned out great, and it’s completely safe for our toddler, who still insists on licking... well, everything.
Once it was all assembled, oiled, and screwed into place, I took a step back to take it all in. What had been an empty, lifeless van just weeks ago was now starting to look like a real home on wheels. What’s more, it all looked like it had been custom-built to fit perfectly in my van, crafted by a professional. The seamless design and precision finish made it hard to believe I had put it together myself.
Another thing that struck me was how efficient and economical the use of space was. When you’re staring at an empty van, it feels massive–like there’s endless room for everything. But in reality, once you factor in a small family, supplies, and all the vacation gear, every square centimetre matters. The furniture needs to be extremely versatile to adapt to our needs and make the most of every inch - and it does.
I’ll go through the units the same way they describe it - as four sections for sleeping, sitting, kitchen and storage.

B-Max bed
Sleep
They offer two distinct bed designs, each tailored to different needs. The Salon focuses on versatility, easily converting into various seating arrangements during the day, and it comes in three different size/shape configurations. The B-Max, on the other hand, is all about maximizing storage. It’s higher, so it has a huge amount of under-bed space. I went for the B-Max.
The storage is thoughtfully designed, with compartments accessible from both inside the van and the rear doors, keeping everything neatly organized. One of my favorite features is the pull-out comb mattress design. While you might not always need to fold the bed away, it’s easy to do, creating a central corridor that leads to the back doors. This clever design not only opens up the space but also makes accessing the storage compartments below the bed quick and hassle-free. The corridor is also where I stash my bike when we’re on the road.
 

Sitting
I chose the Small Chair Table Combo. The set includes two single box seats and a table. By day, it’s the perfect spot for meals, games, or catching up with emails. By night, the table and seats convert into a compact 55 cm x 180 cm bench/bed, which is just about wide enough for our little guy to sleep on (the toddler, not the dog).

Kitchen
I went for the 50L Fridge Unit, a Drawer Unit, and three Cupboard Units for my kitchen setup, and they’ve worked out perfectly. The Fridge Unit is designed to fit a 50-litre Carbest Fridge and features a versatile sliding drawer that can be installed above or below the main compartment. The Drawer Unit, has three identical drawers and I was very impressed with the quality of the steel runners – they slide effortlessly. Finally, the Cupboard Unit provides much-needed storage for bulkier items and its soft-close door keeps that premium quality vibe going.
Once it was in, I installed one of Simple Vans’ marvellously simple Water Kits, which includes a smart and straightforward chrome basin, tap with extendable shower head, a 12v water pump and two jerry cans, for clean and grey water.

Storage

For overhead storage, I went with three Small Cabinets. Despite its compact size, it offers two spacious compartments that are perfect for stashing smaller keep-them-handy items like toiletries, snacks, and books. The soft-close doors are a nice touch, keeping everything secure, even on bumpy roads.

To finish off the build, I ordered a custom foam mattress from mamoussesurmesure.com, which fit the bed frame perfectly and made the space incredibly comfortable. My wife couldn’t wait to take over and add her finishing touches–natural fabrics, cozy cushions, and a string of warm lights to create a magical atmosphere.
 
As for our toddler? He’s officially declared the van his new home and is currently refusing to move back into the house. Safe to say, the whole family was more than ready for our first big adventure!
Related products
€319.00 (tax incl.)

Our Kitchen PLUS Fridge Unit combines simple functionality and flexibility for your modular kitchen setup.

Designed to house a 50-litre fridge, this unit comes with a sliding top drawer that's a perfect fit for a compact camping gas stove.

If you prefer raised fridge access, the sliding drawer can be installed below - how's that for versatile?

Related articles

Menu

MENU