Related articles


Summer Builds Are Won in Spring
2026-03-04
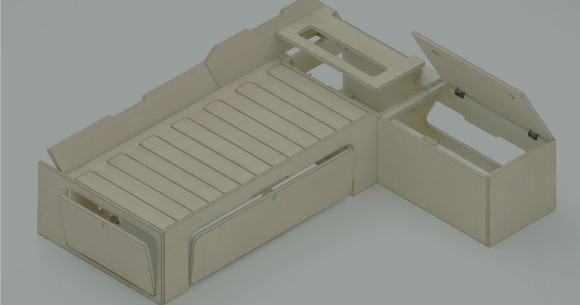
A Simple Vans kit arrives smooth, clean, and ready for your chosen finish. Every panel is checked in our factory, and any rough edges are hand-sanded by our team before the kit leaves us. What we leave to you is the choice of finish. We use lightweight poplar plywood because it makes a lot of sense in a camper van: strong, light, easy to work with. Poplar is naturally paler than standard plywoods, which often have a warmer yellow tone. That makes it a great starting point if you want a light, modern, Scandinavian-style interior. Like any natural wood, the tone can vary slightly from sheet to sheet, but poplar is generally one of the best choices if you want to keep the look bright, minimal, and natural.
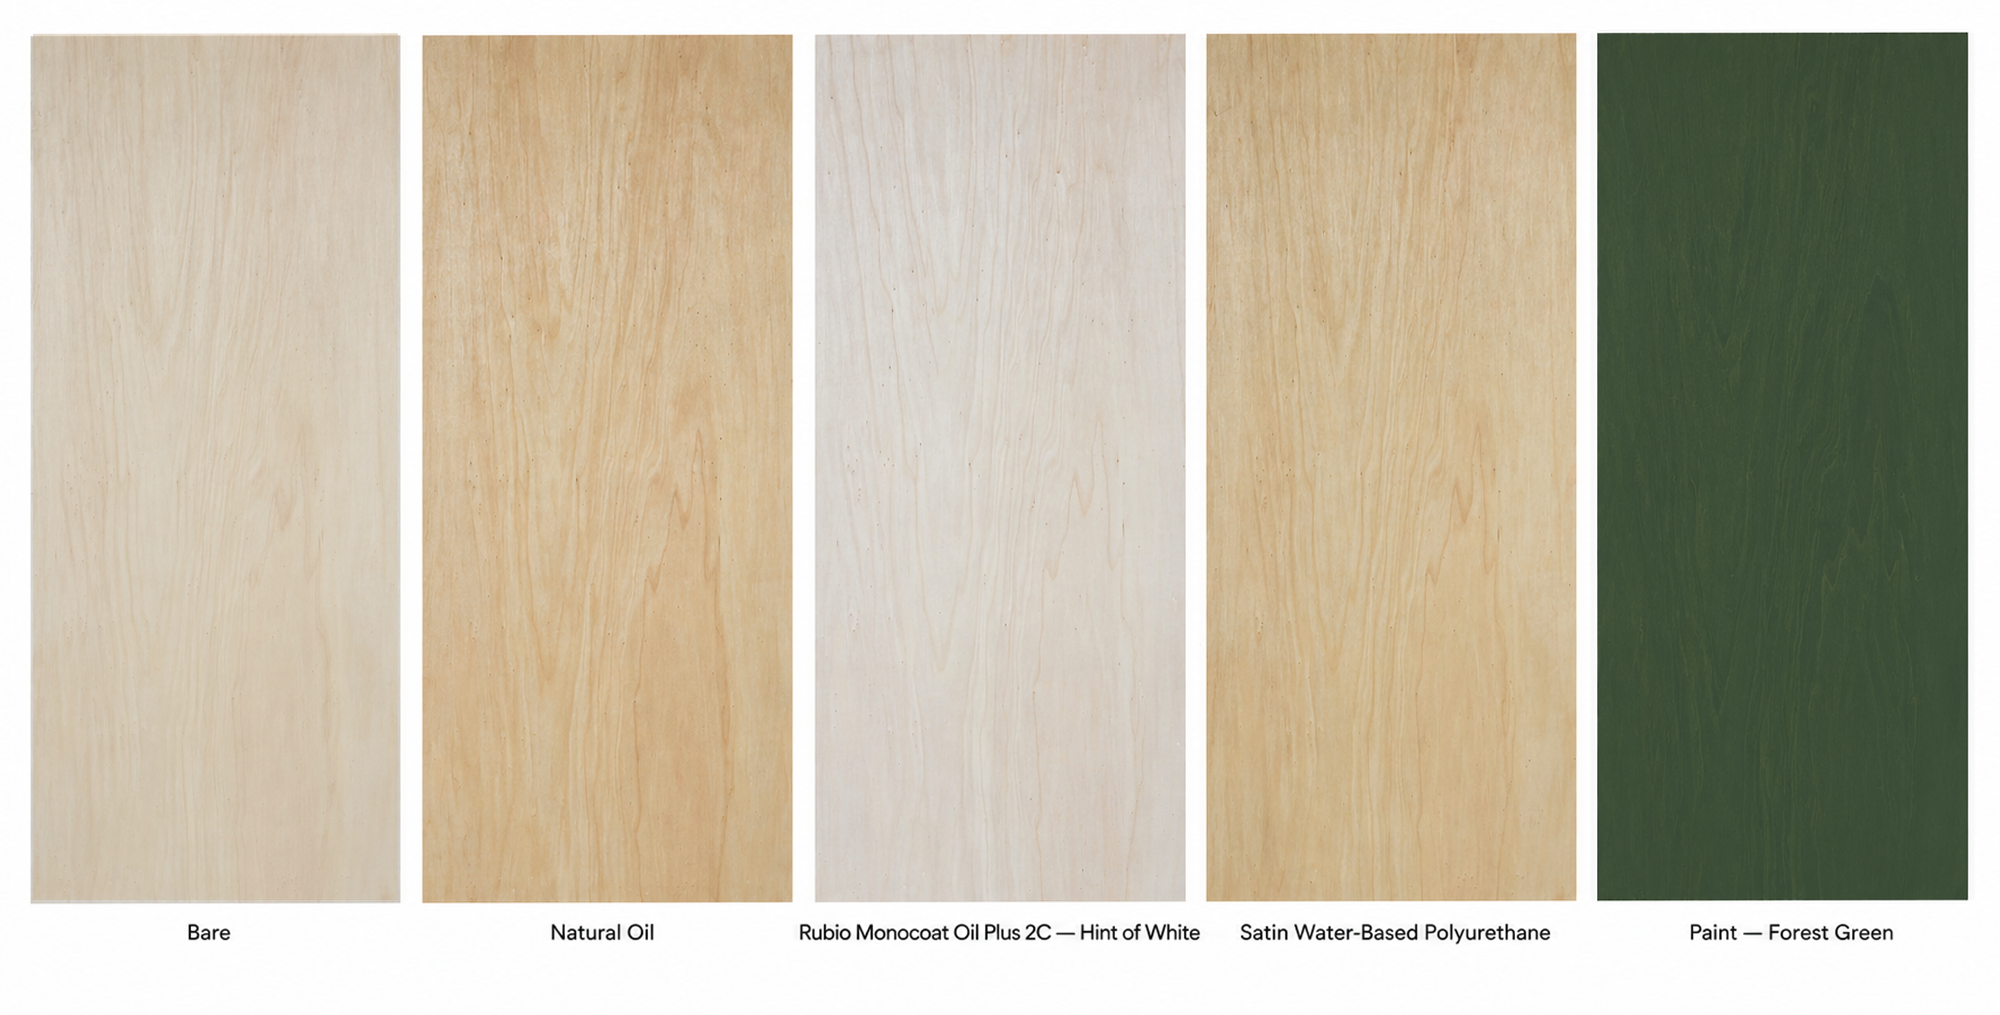
There are five main routes you can take: oil, hardwax oil, varnish, tint/stain, or paint. Each gives a different look, feel, and level of protection. None of them is "the correct one". The right choice depends on how you want your van to look, how you'll use it, and how much maintenance you're happy to do later.
1. Oil
Oil is one of the oldest ways to finish wood. Long before modern varnishes and polyurethanes, wood was protected with natural oils that soaked into the surface and brought out the character of the grain. Unlike varnish, oil doesn't sit on top of the wood as a thick protective film. It penetrates into the surface, giving the plywood a softer, more natural feel. Depending on the oil you choose, it may slightly darken the wood or warm up the tone.
Linseed oil is the traditional option, giving wood a warm, natural appearance, though raw linseed can take a long time to dry, so most people use boiled linseed or a modern blended version. Tung oil is another traditional choice, valued for its water resistance and slightly harder finish once cured. It's also a genuinely food-safe, non-toxic option once fully cured, which is worth knowing if you've got a toddler in the lick-everything phase or you just want fewer chemicals in the van. Modern furniture oils are often easier to use because they're blended for faster drying and more predictable results.
Oil is easy to apply – just apply with a brush and wipe off the excess with a rag. One of the biggest advantages is that small worn areas can usually be touched up locally without redoing the whole panel. With varnish or paint, repairs are less forgiving. If you sand and refinish only one patch, it can stand out, so the whole panel often needs to be sanded and redone for an even result. Oil may not offer as much surface protection as a tougher varnish, but it's much easier to maintain over time.
That matters in a van. Camper furniture has a real life. It gets bumped by bags, scraped by boxes, leaned on by tired humans, and occasionally attacked by a badly packed frying pan. Oil is forgiving.
Best for: natural-looking interiors, simple DIY finishing, soft-touch surfaces, easy long-term maintenance.
2. Hardwax Oil
Hardwax oil is a popular option for modern furniture because it gives a natural matte look while adding more protection than a basic oil. Hardwax oil is a more modern blend of oil and wax. The oil penetrates the wood, while the wax component adds a little more surface resistance. It still looks and feels much more natural than varnish or paint, but it usually gives better protection than a basic oil.
For a camper van interior, hardwax oil is often a very good middle ground: natural look, matte finish, decent protection, and not too fussy to apply. It's a great option if you want the plywood to still look like plywood.
Best for: a pale, modern, natural plywood look.
3. Varnish
Varnish is a good choice if you want stronger protection and a more wipe-clean surface. It creates more of a protective layer over the wood, which can be helpful in a camper van, especially around kitchens, water areas, drawers, doors, or surfaces that will get a lot of daily use.
Varnish is available in matt, satin, and gloss finishes. A matt or satin varnish usually works best if you want to keep the look modern and avoid a shiny "coated" appearance. The tradeoff is that varnish can feel less natural than oil, and it may slightly darken or yellow the plywood depending on the product you choose.
Not all varnishes are the same. Water-based polyurethane varnish is probably the easiest all-round option. It dries clear, is relatively low-odour, and usually keeps pale poplar plywood looking lighter than traditional oil-based varnish. Oil-based polyurethane varnish is tough and durable, but it tends to warm or yellow the wood more. A good-quality matt or satin water-based polyurethane varnish is a safe, easy option: durable, easy to clean, and less likely to make the poplar look yellow.
Best for: families, heavy use, kitchen areas, easy cleaning, stronger protection.
4. Tint or Stain
A tint or wood stain is useful if you want to change the colour of the plywood while still keeping the grain visible. You could use a warmer tone, a pale whitewash effect, or something darker and more dramatic. But poplar plywood can be a little unpredictable with pigmented finishes. Because the colour of the wood varies naturally, stains and tints can sometimes absorb unevenly.
This doesn't mean you shouldn't use them. It just means you should test first. And by "test first", we don't mean "do the entire cabinet and then stare at it in silence for twenty minutes wondering if you've made a terrible mistake." We mean: try a small area first.
Best for: custom wood tones, warmer interiors, visible grain with added colour.
5. Paint
Paint gives you the most control over the final look. If you want your kit to match your van panels, upholstery, floor, or a specific colour scheme, paint is the obvious option. It also hides natural variation in the plywood, which some customers may prefer.
The downside is that paint covers the wood grain completely. It can also chip over time, especially on edges and high-contact areas, so preparation matters. For the best result, use a suitable wood primer first, then a durable interior paint. In kitchen areas or family vans, choose something washable and hard-wearing.
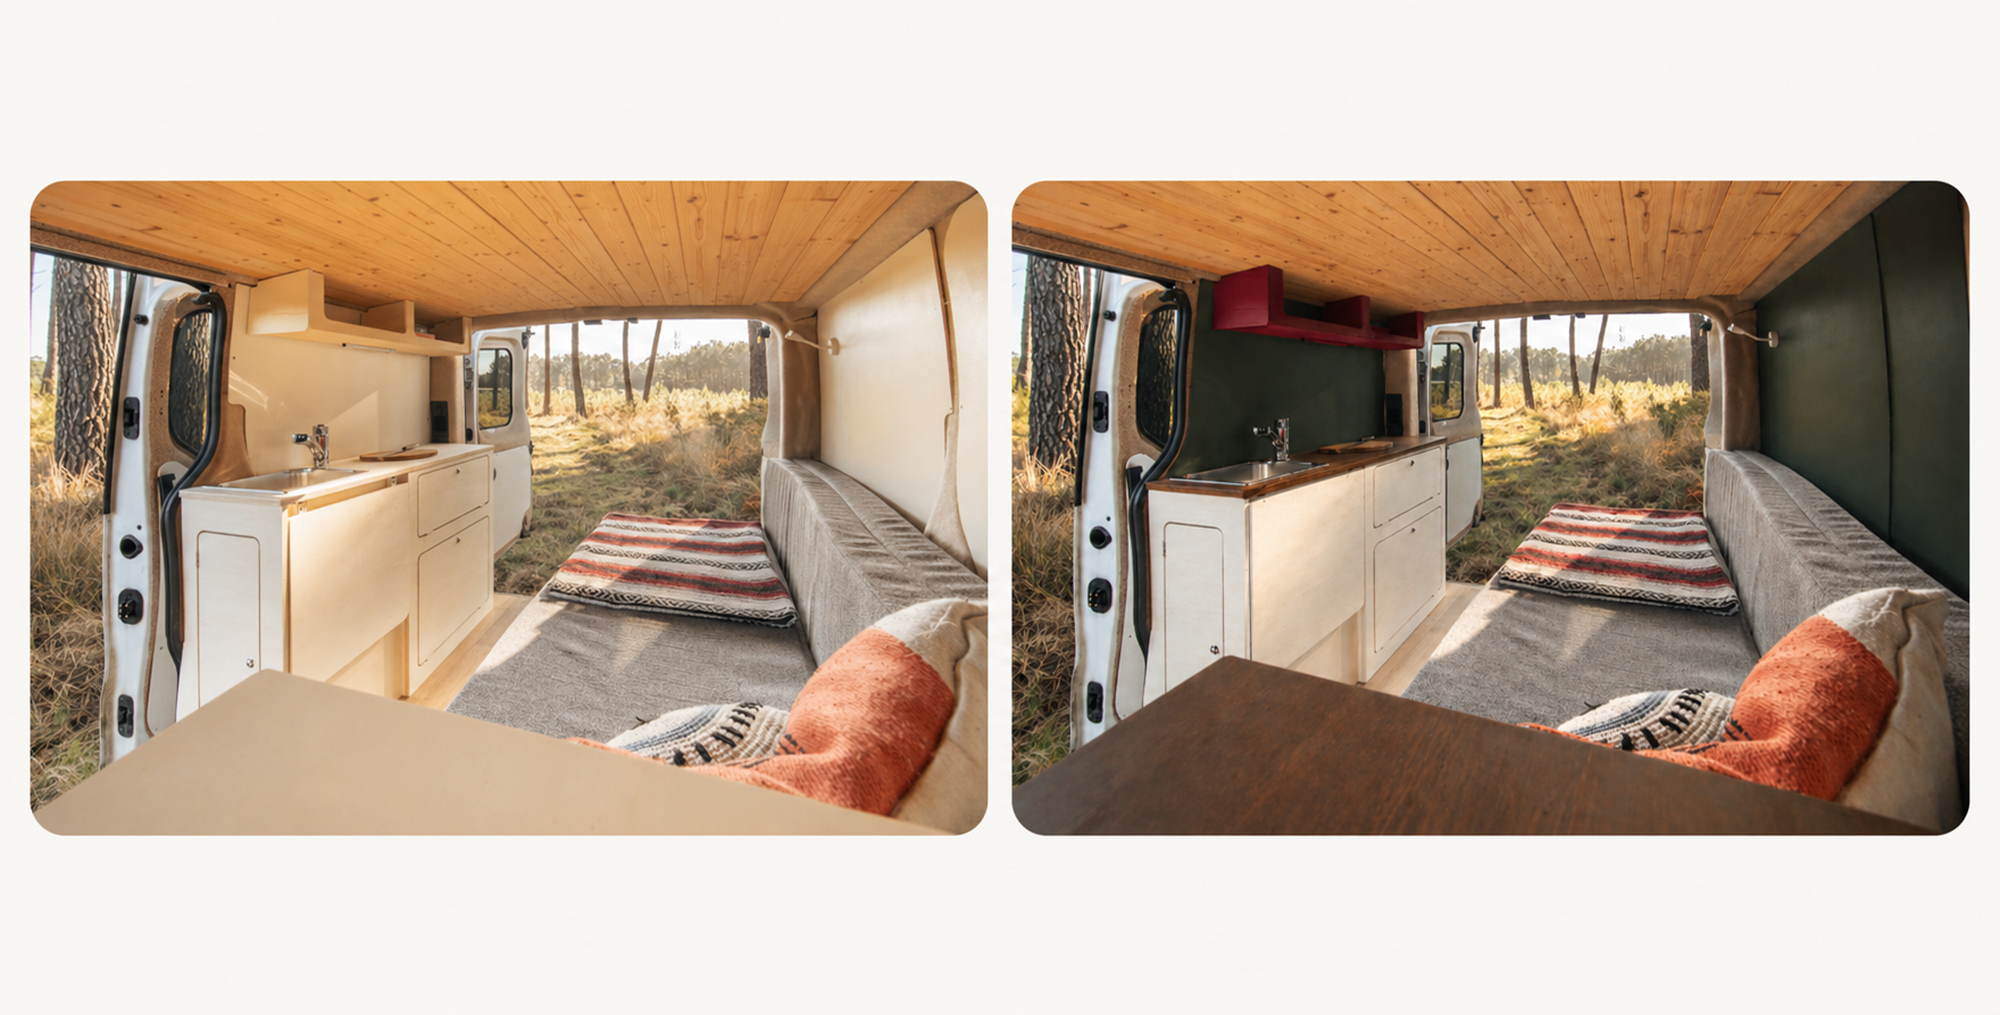
Paint is also the best choice if you want a bold interior. Forest green. Warm cream. Terracotta. Deep blue. Full 1970s ski chalet. We're not here to judge.
Best for: bold colours, full customisation, matching your van interior.
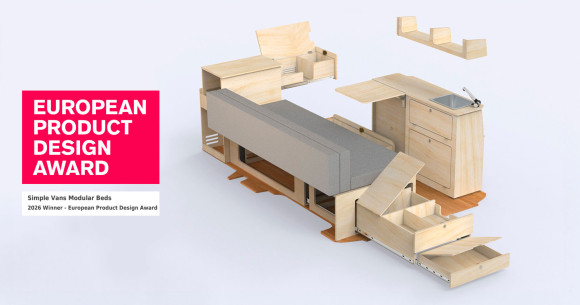
If you want your kit to look like ours, use a hardwax oil in a pale tint. We use Rubio Monocoat Oil Plus 2C, Hint of White. It keeps the plywood light and natural without making it look painted. If you want maximum durability and easy cleaning, use a satin water-based polyurethane varnish. If you've got young kids and want a non-toxic finish, use tung oil.
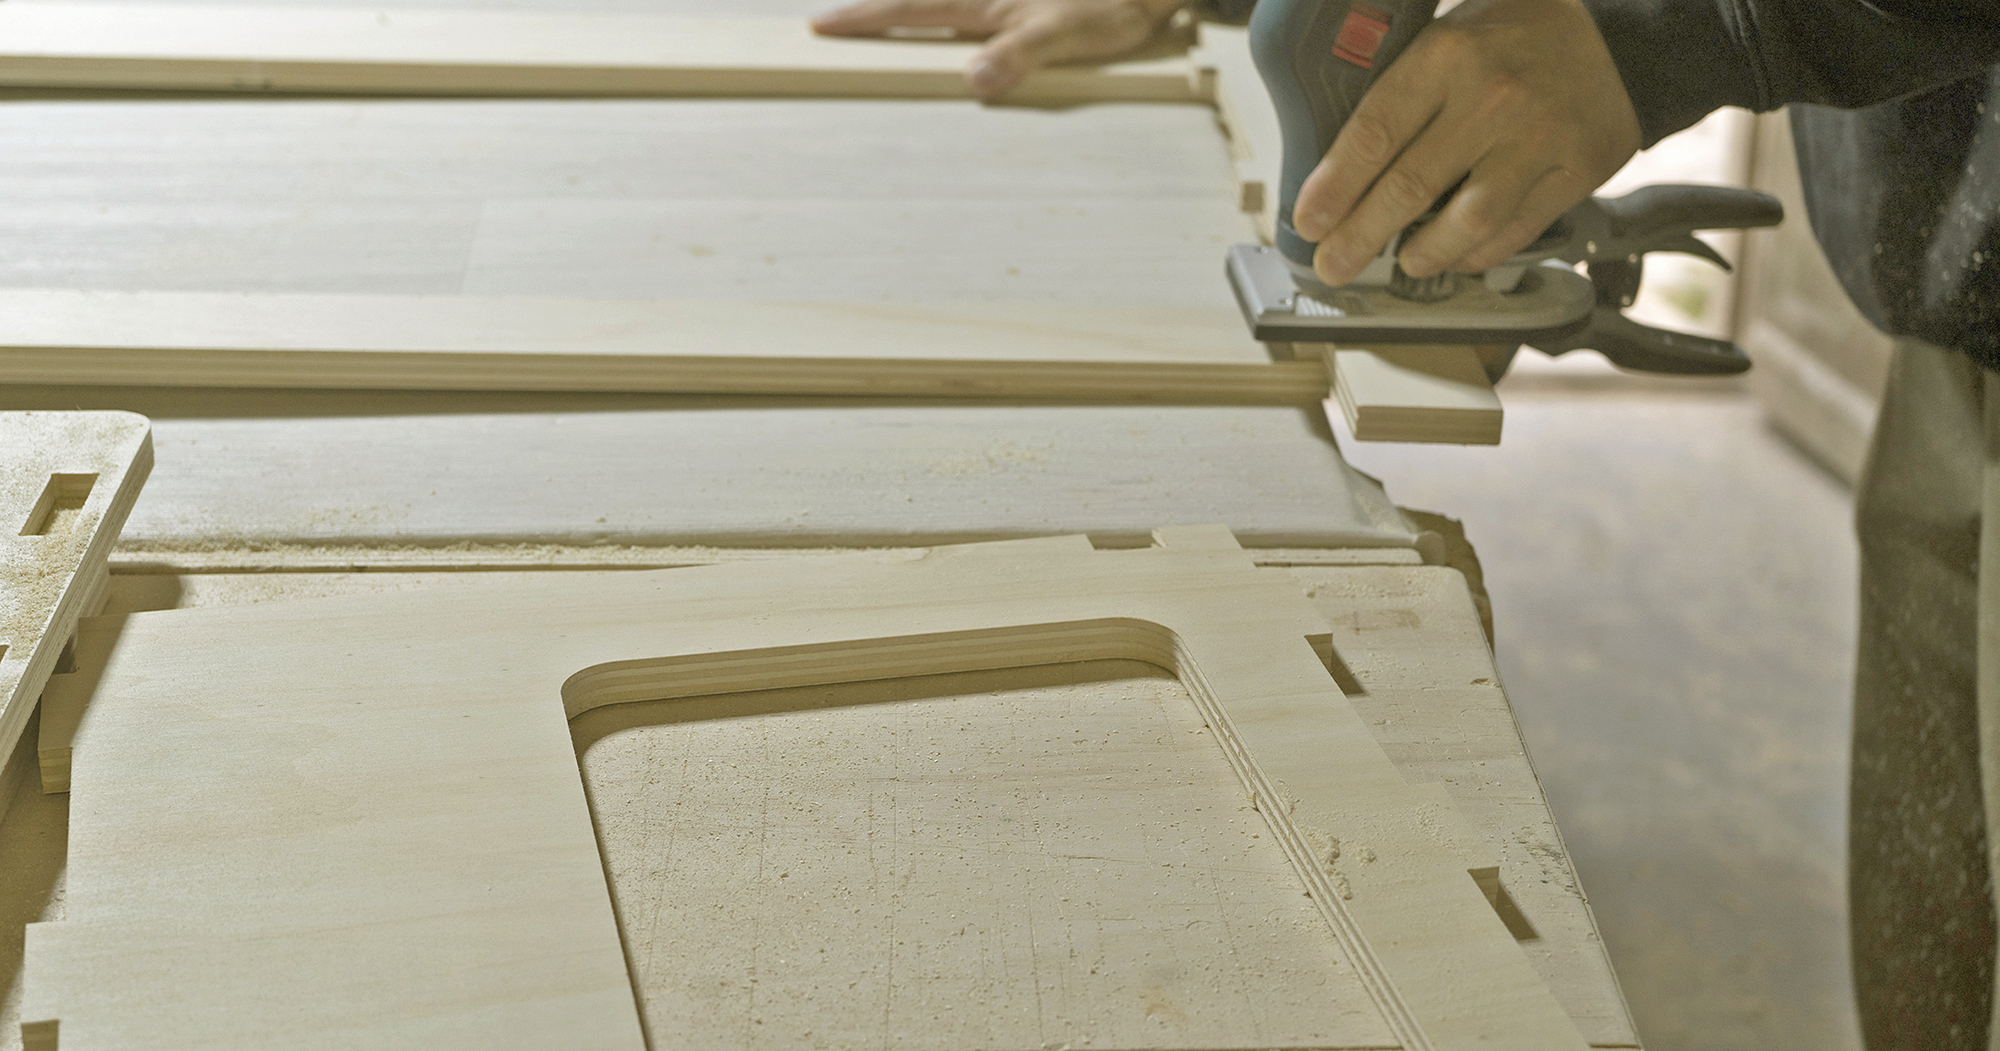
This is the biggest tip in the whole article: finish your kit before you assemble it.
It's much easier to finish flat panels than assembled furniture. You can lay everything out, work at a comfortable angle, apply the finish evenly, and let the pieces dry properly before building.
Open the box, lay all the wooden pieces out flat with the outside-facing surfaces upwards, lightly sand any areas that need it, then apply your chosen finish with a brush, roller, cloth, or applicator pad. Let the pieces dry properly, apply a second coat if your product requires it, and only assemble the kit once the finish is fully dry or cured.
That's it. Flat panels are easier to coat, easier to inspect, and easier to dry. Applying the finish after assembly is an option, but it's slower, fiddlier, and much harder to do neatly.
Open the box. Spread the pieces out. Finish first. Assemble second.
Plan for at least a full day. With one coat, a typical build is "Saturday morning to apply, afternoon to assemble, Sunday to install". Some products will benefit from a second coat in heavy-use areas like worktops, but for most of the kit, one coat is fine. Always check the instructions on your specific product, and remember that "dry to the touch" is not the same as "fully cured", so be gentle with the panels for the first day or two of use.
As a rough guide, a Simple Vans kit needs somewhere between 0.5 and 1.5 litres of finish, depending on kit size and whether you're doing one or both sides. A small kit like the Weekender or Essentials can usually be finished with a single 0.5 to 1 litre tin. A larger kit like a Family Classic or Super Sleeper L3, especially if you're sealing both sides, may need 1.5 to 2 litres. Coverage varies a lot between products, so check the tin: most will tell you square metres per litre. When in doubt, buy slightly more than you think you need. Running out halfway through a panel is much worse than having a little left over.
At minimum, finish the visible outside surfaces of your kit. For better results, finish both sides of each panel. This isn't just about extra protection, it's about stopping the panels from warping. Unsealed plywood absorbs moisture unevenly, and in a van, that means panels can cup or twist over time as humidity changes.
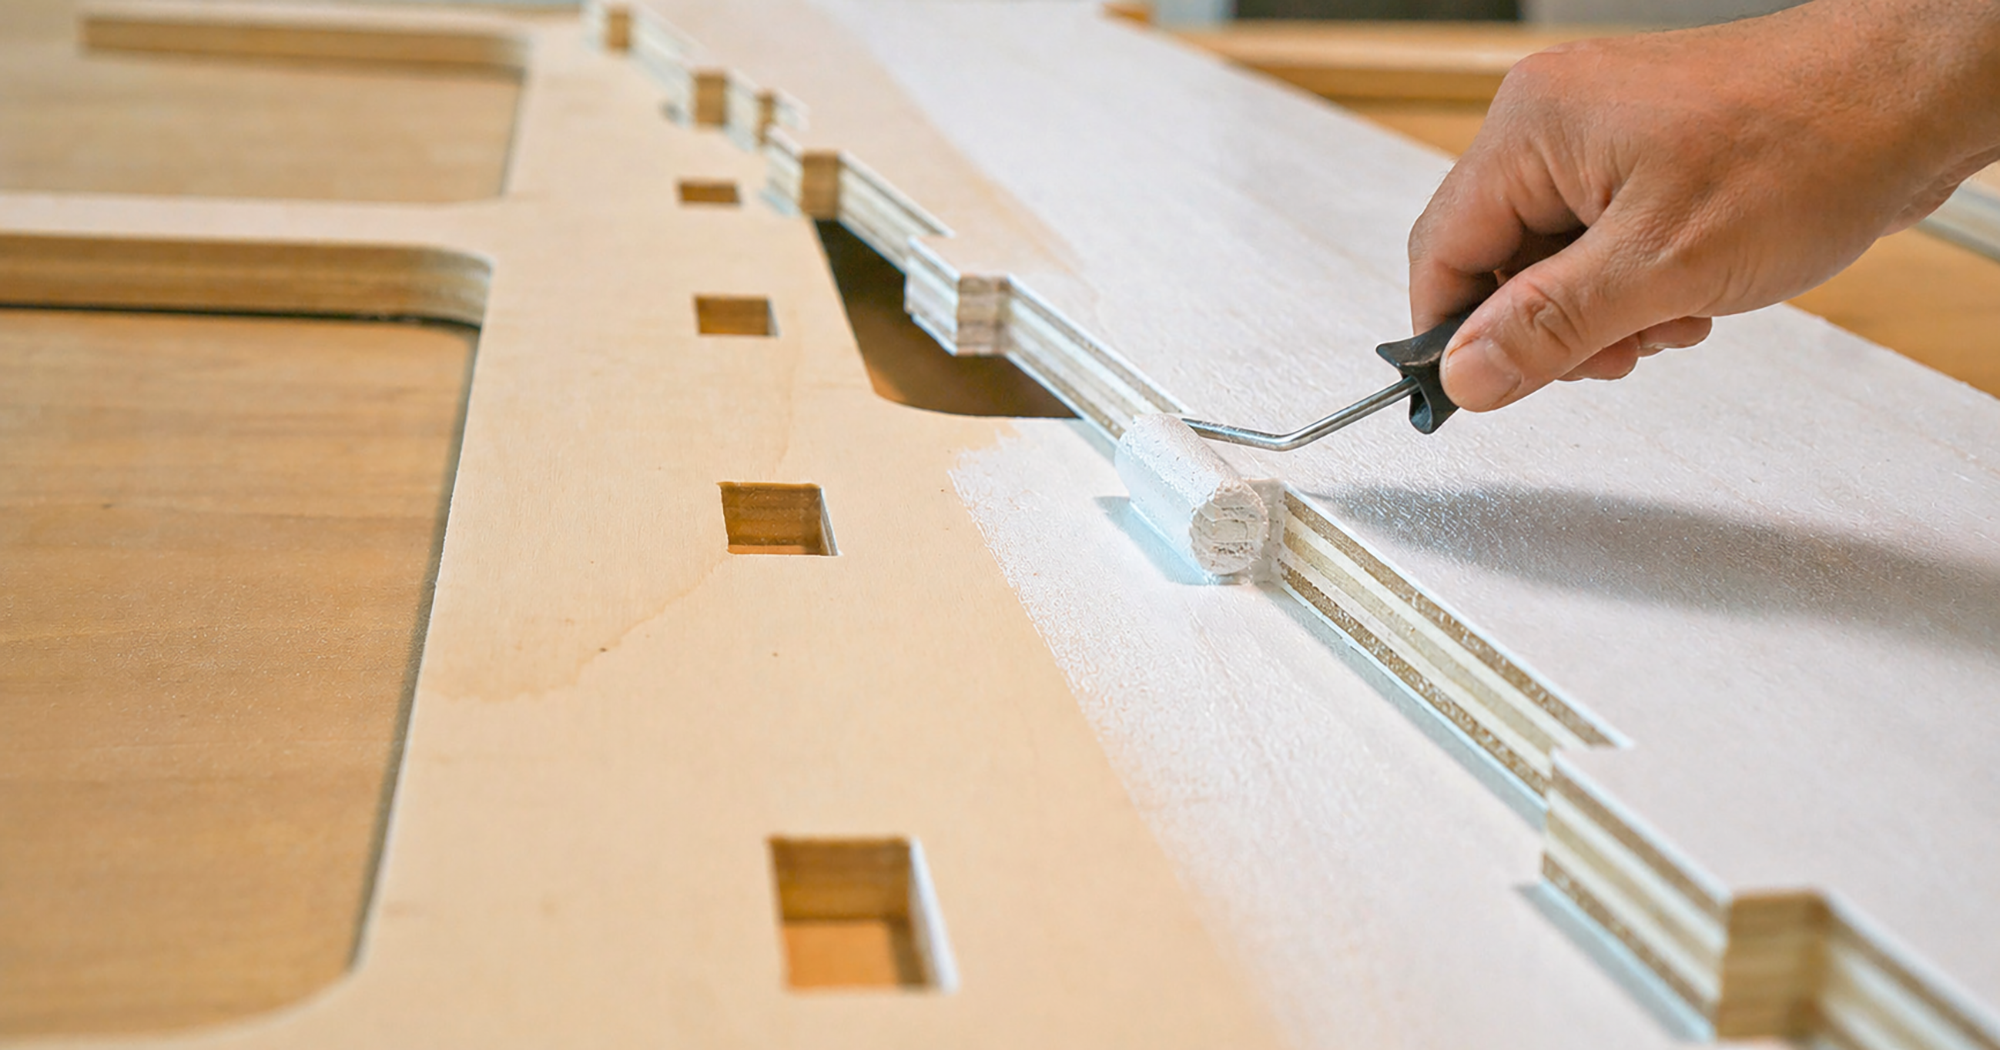
Sealing both faces keeps the wood balanced and helps the kit stay flat for the long haul. Pay particular attention to doors, drawer fronts, worktops, table surfaces, kitchen areas, edges, and anything close to water or touched often. Edges are especially important. Plywood edges can absorb more finish than the flat faces, so don't ignore them. A little extra care here will make the final kit look much more finished.
One important exception: don't apply finish to the tabs and slots that get glued during assembly. Oil, varnish, and paint all interfere with wood glue, and a finished joint won't bond properly. Keep those small areas bare, and finish only the surfaces and edges that will be visible once the kit is built.
Whatever finish you choose, the same basics apply: work in a clean, dry, well-ventilated space, apply thin even coats, follow the product instructions, and let everything touch dry before assembly. Most finishing problems come from impatience, not lack of skill. And remember, dry to the touch is not always fully cured, so be gentle with the panels until the finish has properly hardened. Simple Vans gives you the structure. You bring the character.

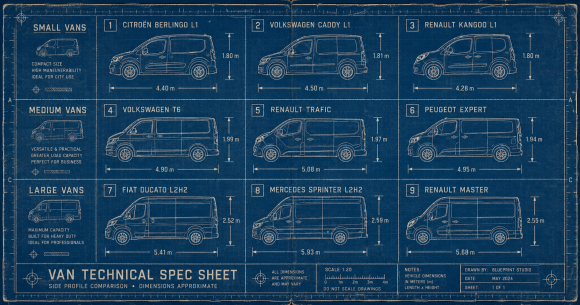
Compatible with all large vans like the Fiat Ducato, Peugeot Boxer, Citroën Jumper, Renault Master, Opel Novano, Nissan NV400, Mercedes Sprinter, Volkswagen Crafter, Iveco Daily...
Compatible with all large vans like the Fiat Ducato, Peugeot Boxer, Citroën Jumper, Renault Master, Opel Novano, Nissan NV400, Mercedes Sprinter, Volkswagen Crafter, Iveco Daily...
By THEME
SIMPLE VANS
USEFUL INFORMATION & LINKS
Compatible with all large vans like the Fiat Ducato, Peugeot Boxer, Citroën Jumper, Renault Master, Opel Novano, Nissan NV400, Mercedes Sprinter, Volkswagen Crafter, Iveco Daily...
Compatible with all large vans like the Fiat Ducato, Peugeot Boxer, Citroën Jumper, Renault Master, Opel Novano, Nissan NV400, Mercedes Sprinter, Volkswagen Crafter, Iveco Daily...
By THEME
SIMPLE VANS
USEFUL INFORMATION & LINKS
Please sign in first.
Sign in