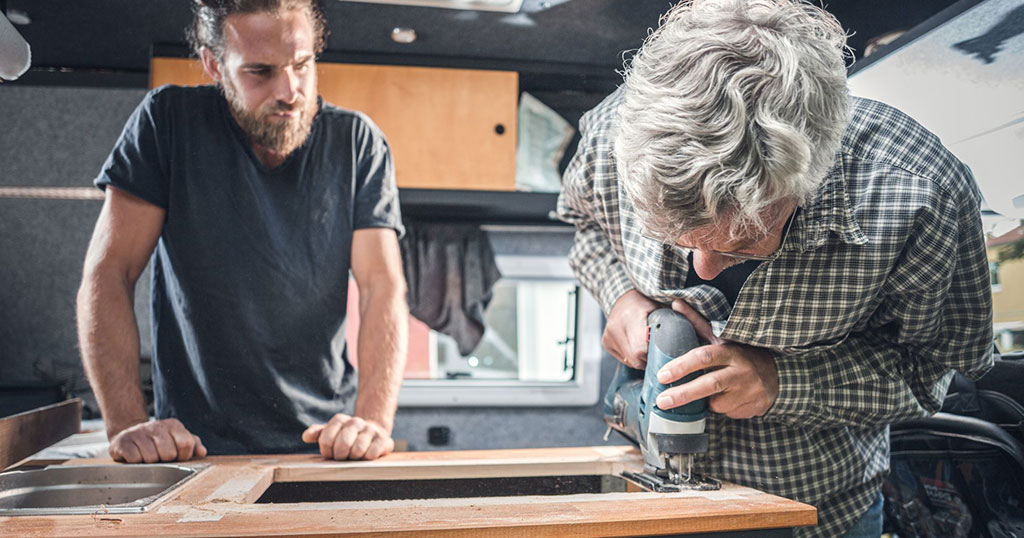
How to build your campervan furniture : a step-by-step guide
Are you ready to dive into the world of campervan furniture design and construction?
From crafting your ideal floor plan to selecting materials and finishes, every decision matters.
There are several key stages to a campervan conversion, from choosing the type of vehicle that suits your needs, to preparing it with windows, insulation, equipment, and, most importantly – bed, seating and storage. In this introductory guide, we’ll explore the ideal materials for camper van furniture, as well as the three primary routes to camper furniture creation: building from scratch, hiring a professional, or using a self-assembly kit. Get ready to set off on the journey to creating your dream campervan interior!

Part 1: Plywood or Wood Framing?
Now that you’ve decided to embark on the journey of DIY campervan furniture, the first significant choice you’ll encounter is the selection of materials. When it comes to camper furniture, there’s often a dilemma – plywood or traditional wood framing?
Well, while wood framing can provide a warm, traditional, and rustic appearance that some campervan enthusiasts prefer, often requires complex construction, including intricate joinery and framing, which can be time-consuming and challenging for beginners. Also, the traditional wood framing approach is also heavier than plywood, which can impact fuel efficiency and overall performance.
In contrast, plywood has many advantages – and no disadvantages.
Part 2: Plywood – The Ideal Choice
Plywood is the go-to material for building campervan furniture, and for good reason. Here’s why it’s the best choice:
Simplified Framing: Plywood’s inherent rigidity and strength allow you to create furniture with minimal framing, maximizing usable space.
Strength and Lightweight: Plywood strikes a balance between strength and weight, making it an ideal material for camper furniture.
Resistance to Warping and Expansion: The layers of plywood are bonded together in a way that minimizes the risk of warping, expansion, or contraction, ensuring a long-lasting result.
Clean Aesthetic: Plywood has a clean, attractive appearance that can serve as the perfect base for a minimalist, contemporary look. Whether you choose to stain, paint, or leave it as is, plywood provides a stylish canvas for your campervan’s interior design.

Part 3: Build from scratch? Hire a pro? Or get a kit? Three ways to build
When it comes to creating your dream campervan interior, one size doesn’t fit all. The choices you make in building from scratch, hiring a professional, or using a self-assembly kit depend on your unique circumstances and preferences.
Some of us are blessed with more time and skills but may have a limited budget, while others have the financial means but are short on time for a full DIY project. And then, there are those somewhere in between, seeking a balance between convenience and customization.
So, let’s take a look at these three very different approaches to a custom camper install.
3.1. Building Everything from Scratch
If you’re up for the challenge and wish to create your campervan furniture from scratch, you’re going to need to start with a detailed plan, based on the exact floor plan and dimensions of your van.

Start by designing your furniture or downloading pre-made plans from reliable sources. Keep in mind that designing isn’t just as simple as placing the units in the right place; door openings, bed openings, sizes of storage boxes all need to be considered. Self-building also means self-sourcing all the materials. Are you someone who enjoys research and sourcing? This can take a good amount of time just to find a hinge that is the right size and works. Delays from suppliers can also put the whole project on hold until you find a replacement part.
Also, it’s important to remember that if it’s your first van conversion – you’ll make mistakes! Great design doesn’t come from a one time effort, it comes from iteration. Just like evolution, little changes, little improvements over time come to make a great and functional campervan interior.
PROS:
Total Customization: You have complete creative control over your campervan’s design, allowing you to create a unique space tailored to your exact needs and preferences.
Deep Learning Experience: Building from scratch offers an opportunity to gain valuable skills and insights into construction, which can be beneficial for future DIY projects and maintenance.
Budget Control: You can choose cost-effective materials and manage your budget according to your financial constraints.
CONS:
Time-Consuming: From designing the plan to sourcing all the materials and components, creating everything from scratch is a time-intensive process, often taking weeks or even months to complete.
Skill Requirement: Building from scratch requires a high level of carpentry and construction skills.
Tool Investment: Acquiring or renting specialized tools and equipment can add to the overall cost of the project.
Risk of Mistakes: For beginners, the DIY approach may result in errors, which can lead to functionality and safety issues.
3.2. Hiring a Professional
For those seeking a campervan conversion without tackling the complexities of DIY work or the constraints of time, hiring a professional presents an appealing option. But sometimes, the most expensive option isn’t always the best! Let’s explore the advantages and disadvantages.
PROS:
Expertise: Professionals can bring experience and expertise to the project, ensuring a high-quality, functional conversion.
Time Efficiency: Hiring a professional can significantly reduce the time required to complete the conversion, allowing you to get on the road faster.
Warranty and Quality Assurance: Many professionals offer warranties on their work, providing peace of mind.
CONS:
Higher Cost: a professional conversion is by far the most expensive, with labour significantly adding to the overall cost.
Limited Control: While you have some say in the design, it may not be as personalised as a DIY project.
Limited Learning Opportunity: Hiring a professional misses the chance to gain hands-on experience in the construction process.
Possible Delays: Relying on a professional may lead to scheduling and timing conflicts, potentially delaying your plans.
Non Custom: In many cases, a professional builder has the same challenges as designing from scratch, in the sense that their design may have flaws that would otherwise be ironed out in later iterations. It’s for this reason that when it comes to the furniture, many professionals prefer to purchase… a self-assembly kit!
3.3. Using a Self-Assembly Kit
If you’re looking for a middle ground between full DIY and hiring a professional, the self-assembly kit option could be your golden ticket. These kits offer a bridge to achieve a customized campervan interior while saving both time and resources. Let’s dive into the world of self-assembly kits, where convenience meets creativity, and discover why they are becoming an increasingly popular choice among campervan enthusiasts.

PROS:
Simplified Process: Self-assembly kits come with clear, easy-to-follow instructions, making the process accessible to individuals with limited construction experience.
Cost-Effective: Kits are often more budget-friendly than hiring a professional and can be less expensive than sourcing materials independently.
Time-Efficient: Kits are designed for efficiency, so you can complete your campervan conversion relatively quickly.
Model-Specific: Our kits are designed to fit perfectly into a wide range of current van brands and models.
Modular design: Standard furniture like beds, side & kitchen units are designed to work together in a variety of different floorplans.
CONS:
Limited Customization: While kits offer some flexibility, you work within the parameters of pre-designed layouts, limiting your ability to fully customize.
Basic Skill Requirement: You still need basic tools and construction skills to assemble kits.
Compatibility: Kits may not be compatible with your van model.
Verdict:
If you’re seeking a camper van conversion that strikes a balance between customization, cost-effectiveness, and efficiency, the self-assembly kit emerges as the clear winner. It provides the best of both worlds, offering a streamlined and cost-effective process while still allowing for some personalization. This option empowers you to hit the road in a beautifully crafted campervan with fewer drawbacks and more convenience, making it an ideal choice for many DIY enthusiasts.
Ready to Start Building?
As you embark on your campervan conversion journey, remember that there’s no one-size-fits-all solution. Each approach has its merits and drawbacks, so it’s essential to choose the one that aligns with your resources, goals, and dreams.
To delve deeper into each option and gather valuable insights, explore our related posts: “Insulating your campervan : a simple DIY guide”


